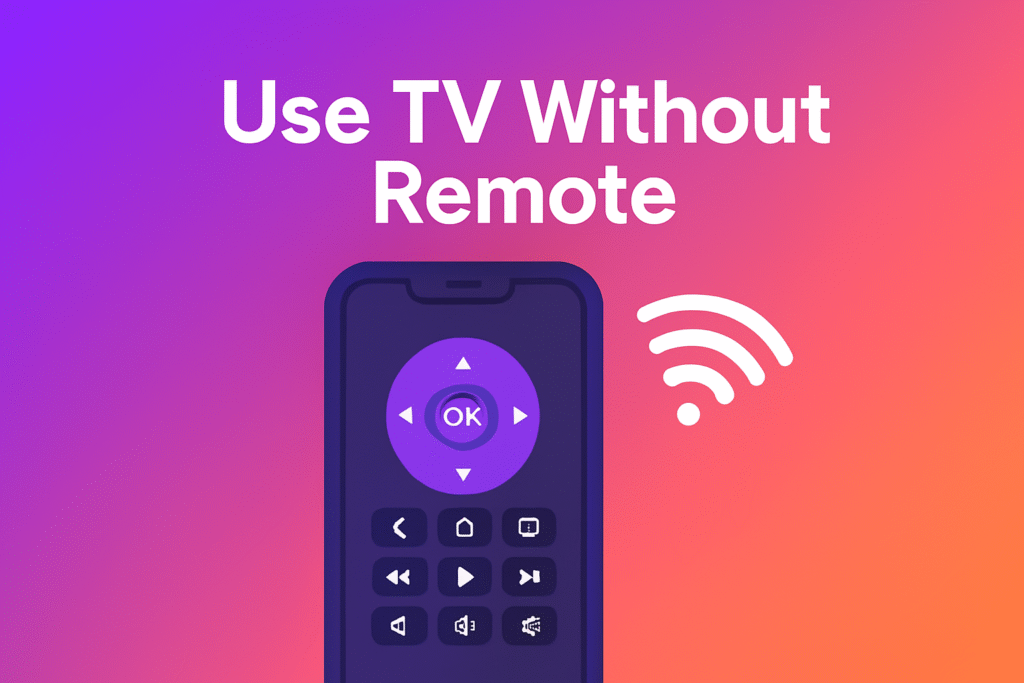
Smart TVs are now a normal part of daily life. They let us watch movies, enjoy streaming platforms, and use smart features without extra devices. But just like phones and computers, your TV also needs updates to work well. These updates fix errors, improve safety, and sometimes add new tools. The good part is that you can do a TV firmware update with just your remote control. But if your remote isn’t working, you can still use your TV without a remote No extra gadgets are required.
This guide explains how to update your TV’s firmware using the remote step by step. It covers updates through the internet, by using a USB drive, and also how to set up auto-updates. You will also learn how to check your TV software update version and what to do if something goes wrong.
Understanding Firmware Updates
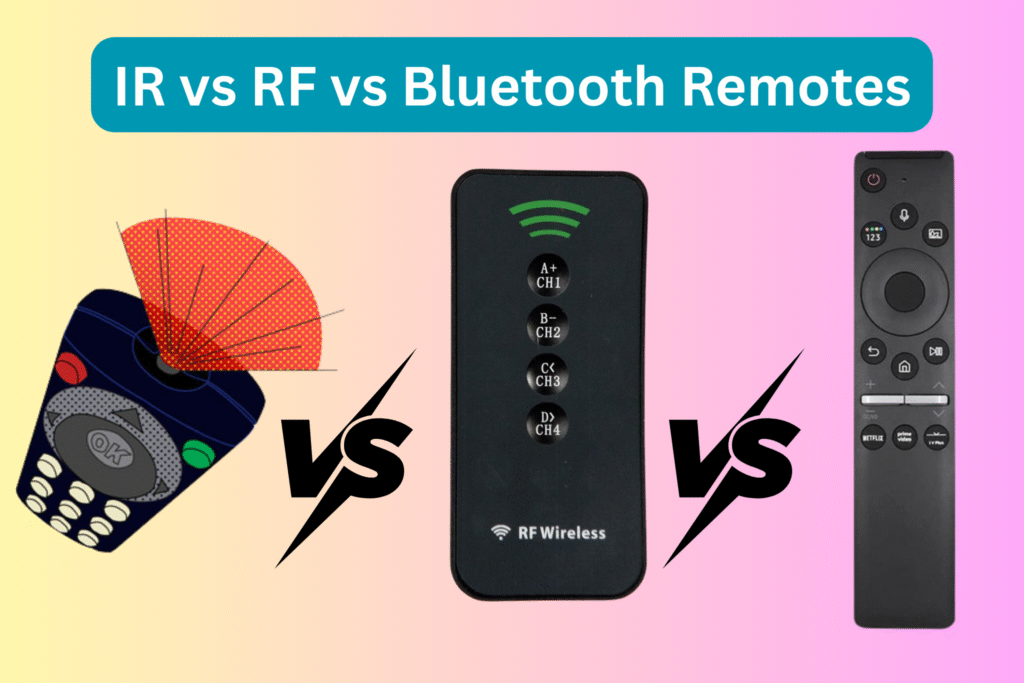
Firmware is the built-in program that controls how your TV runs for more on how remotes work, see our Samsung remote control guide. Think of it as the brain of your device. It is not the same as the apps you download. A Smart TV firmware update often fixes performance problems, keeps the system secure, and adds support for new apps.
When you keep up with a TV software update, your device works better, avoids bugs, and can run the newest apps and features smoothly.

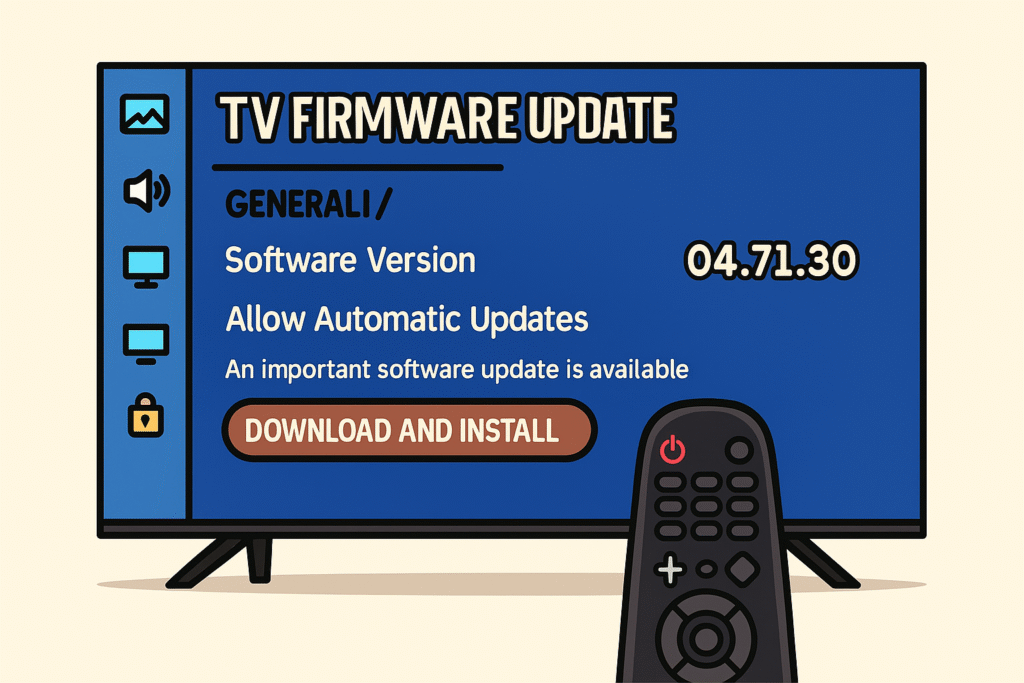
How to Check the Firmware Version of Your TV
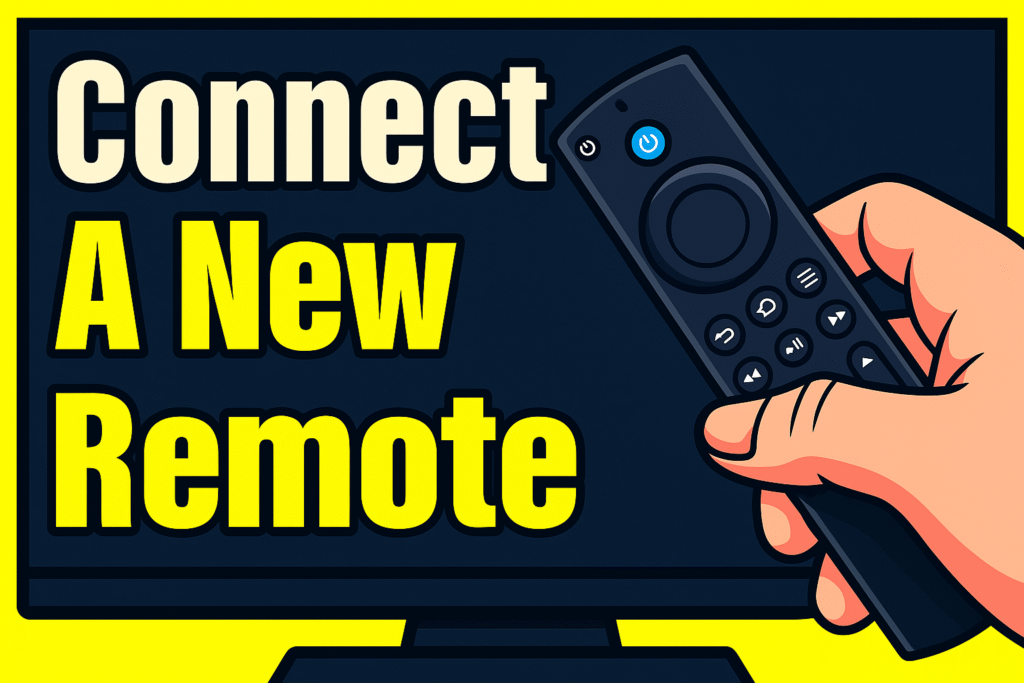
Before you start a TV firmware update, it is smart to check the version already installed.If you recently bought a replacement remote, here’s how to pair a new remote with your TV before starting the update Here’s how you can do it with your remote:
- Press the Home or Menu button.
- Open the Settings menu.
- Go to Support or System.
- Choose Software Update or a similar option.
- Check the version number on the screen.
Once you know the version, compare it with the one on the official support page of your TV brand. If your version is older, you need an update.
How to Update TV Firmware Over a Network
One of the easiest ways to perform a Smart TV firmware update is through the internet. For this method, make sure your TV is connected to Wi-Fi or an Ethernet cable. Then:
- Press the Home or Menu button.
- Go to Settings → Support → Software Update.
- Select Update Now.
- If a new TV software update is available, your TV will download and install it.
This option is simple, but it requires a stable internet connection.
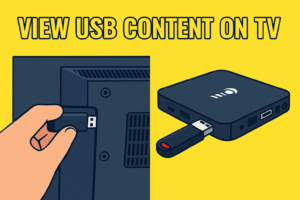
How to Update TV Firmware Using a USB Drive
If your TV is not connected to the internet, you can still do a TV firmware update with a USB drive. First, download the update file from your TV manufacturer’s support website and save it to a USB stick. Then:
- Insert the USB drive into your TV.
- Use your remote to open Settings → Support → Software Update.
- Select Update Now and choose “USB” as the source.
Your TV will find the file and start updating.
Setting Up Auto-Update
If you don’t want to check updates manually, turn on auto-update:
- Press Home.
- Go to Settings → Support → Software Update.
- Switch Auto Update to ON.
With this option, your TV installs updates by itself whenever new firmware is released.
Keeping your TV software update current helps avoid crashes, protects your device, and ensures you always get the best viewing experience.
Ways to Update TV Firmware
Keeping your TV firmware up to date is important for smooth performance, security, and access to new features. There are two main ways to update your TV: over a network connection using Wi-Fi or Ethernet, or through a USB drive manually. Both methods are simple and can be done using your remote control.
Updating TV Firmware Through a USB Drive
If your TV is not connected to the internet or the network update does not work, you can use a USB drive for a manual update. This method is a little more technical but very effective.
Steps to update via USB:
- On a computer, visit your TV’s support page.
- Enter your TV model and download the latest firmware file.
- Transfer the file to a USB drive formatted as FAT32.
- Insert the USB drive into the TV.
- Using the remote control, go to Settings → Support/System → Software Update.
- Select Update via USB.
- The TV will detect the firmware file and start installing the update.
This method allows you to keep your TV updated even without an internet connection and ensures you can manually control the update process.
How to Set Up Auto-Update on Your TV
To avoid checking for updates manually, you can turn on auto-update. This feature lets your TV automatically install new TV firmware while it is in standby mode.
Steps to enable auto-update:
- Press the Home or Menu button on your remote control.
- Go to Settings → Support/System → Software Update.
- Turn the Auto Update setting ON.
Once enabled, your TV will always install the latest TV software update automatically. This keeps your device current and reduces the risk of missing important updates.
Why You Should Always Keep Your TV Updated
Skipping updates can cause issues. Outdated firmware may lead to:
- Apps crashing or not loading properly.
- Security risks from unpatched bugs.
- Incompatibility with new streaming apps and services.
Keeping your TV firmware updated ensures:
- Smooth and reliable performance.
- Access to the latest apps and features.
- Protection from bugs and security issues.
Regularly updating your TV software also helps your device run efficiently and avoids problems that can interrupt your viewing experience. By using your remote control to check for updates, you can quickly keep your TV up to date without extra effort.
Updating your TV firmware over the network, via USB, or using auto-update keeps your Smart TV secure, functional, and ready for the newest apps and features at all times.
Why Updating TV Firmware Matters
Many people overlook updates, but skipping them can cause problems. Outdated TV software updates can lead to apps crashing, slower performance, security vulnerabilities, and incompatibility with new streaming services. Updating your Smart TV firmware ensures:
- Smooth and reliable performance.
- Access to new apps and features as they are released.
- Better protection against bugs and potential security threats.
- Compatibility with new devices, including game consoles and streaming devices.
Even if your TV seems to be working fine, regular updates are important to keep it running efficiently.
Step-by-Step Guide – Updating Your Smart TV Firmware
Keeping your TV firmware up to date is essential for smooth performance, security, and access to the latest apps. With regular updates, your Smart TV can run the newest features, fix bugs, and maintain compatibility with popular streaming platforms. The good news is that you can perform a TV firmware update using your remote control, either through a network connection or with a USB drive. This guide explains each method in detail, provides a checklist, troubleshooting tips, and advice to make the process easier.
Step-by-Step Checklist for Updating TV Firmware
Follow these simple steps to update your TV safely:
- Turn on the TV using your remote control.
- Press the Home or Menu button to access the main menu.
- Navigate to Settings → Support/System.
- Select Software Update or a similar option.
- Choose Update Now to start the process.
- Wait while the TV downloads and installs the update.
- Restart the TV if prompted.
- Verify the firmware version in settings to ensure the update is complete.
This checklist works for both network updates and USB updates and makes sure your TV software update is applied correctly.
Updating TV Firmware Over a Network
Updating your TV over a network connection is the easiest method because it happens directly on-screen. This is sometimes called an online or automatic update.
Steps to update via network:
- Connect your TV to Wi-Fi or an Ethernet cable.
- Press the Home or Menu button on the remote control.
- Go to Settings → Support/System → Software Update.
- Select Update Now.
- Wait for the TV to check for available updates.
- If an update is available, it will download and install automatically.
- The TV may restart during the process, so do not turn it off manually.
This method is fast, convenient, and does not require extra devices. A stable internet connection ensures that the download completes without errors.
Updating TV Firmware Using a USB Drive
If your TV cannot connect to the internet or the network update fails, a USB update is a reliable option. This manual method allows you to download the update file on a computer and transfer it to your TV.
Steps to update via USB:
- On a computer, go to your TV’s support page.
- Enter your TV model and download the latest firmware file.
- Transfer the file to a USB drive formatted as FAT32.
- Insert the USB drive into the TV.
- Using your remote control, go to Settings → Support/System → Software Update.
- Select Update via USB.
- The TV will detect the file and start installing the update.
A USB update is useful for TVs without internet access and gives you more control over the update process.
Auto-Update: Keep Your TV Always Current
Most Smart TVs allow you to enable auto-update, which installs updates automatically while your TV is in standby mode. Some TVs also allow you to turn on updates using voice commands on your smart TV remote.
Steps to enable auto-update:
- Press the Home or Menu button on your remote control.
- Go to Settings → Support/System → Software Update.
- Turn Auto Update ON.
Once enabled, your TV will download and install the latest TV firmware update automatically. This reduces the risk of missing important updates and keeps your device secure and compatible with new apps.
USB Update vs Network Update – Comparison
Both methods have advantages depending on your situation:
| Feature | USB Update | Network Update |
| Internet Required | No | Yes |
| Speed | Faster if USB is high-speed | Depends on internet speed |
| Difficulty | Medium (manual download needed) | Very easy (automatic) |
| Best For | TVs without internet or failed updates | Everyday users with Wi-Fi |
Choosing the right method ensures your Smart TV firmware update goes smoothly without interruptions.

Common Issues & Troubleshooting
Even though updates are usually smooth, you may face some problems:
- TV won’t update → Restart both the TV and the router, then try again.
- USB not detected → Ensure the drive is formatted as FAT32 and the firmware file is unzipped.
- Update stuck at a percentage → Wait 30–60 minutes; if it doesn’t move, restart and try again.
- Apps not working after update → Clear cache or reset the TV’s app hub/system settings.If your Samsung remote doesn’t respond after an update, consider using the best universal remote for Samsung TV
By following these steps, you can fix most TV firmware update problems and complete the update successfully.
Final Thoughts
Updating your TV firmware using the remote control is a simple but essential task. Whether you choose a network update for convenience or a USB update for offline use, keeping your TV software update current improves performance, security, and app compatibility.
By checking your firmware version, enabling auto-updates, and knowing how to troubleshoot common issues, your Smart TV will remain reliable for years. Regular TV firmware updates ensure smooth streaming, prevent bugs, and give you access to the latest features without complications.
FAQs About TV Firmware Updates
How long does a TV firmware update take?
Usually 5–15 minutes, depending on the size of the update and internet speed.
Can I downgrade my Samsung TV firmware if I don’t like it?
No, Samsung doesn’t allow downgrading for stability and security reasons.
How do I know the difference between an Xfinity TV software update and my Smart TV software update?
Xfinity updates apply to the cable box/remote, while Smart TV updates apply to the TV itself.
Can I use my Xfinity TV remote to navigate the on-screen display of my Smart TV’s software update?
No, only the original Smart TV remote or a universal remote works for firmware updates.
Can I use my Xfinity TV remote control for any functions on my Smart TV?
Yes, you can control power and volume if paired, but not software updates.
How do I know if I have an update from my Smart TV?
You’ll see a notification in the settings menu, or updates will install automatically if auto-update is enabled.
How long will the software update take to complete on my Smart TV?
Generally 5–10 minutes, though larger updates may take longer.