When you pair an Xfinity remote to a Samsung TV looks simple at first. But many people get stuck because the remote blinks once, or the TV ignores the command. Most of these issues trace back to the setup path inside the X1 box. Once that path loads, the remote links to the TV in a clean and stable way.
This guide breaks down each step in clear order so you can pair the remote, check control features, and fix small problems fast. So, lets get started.
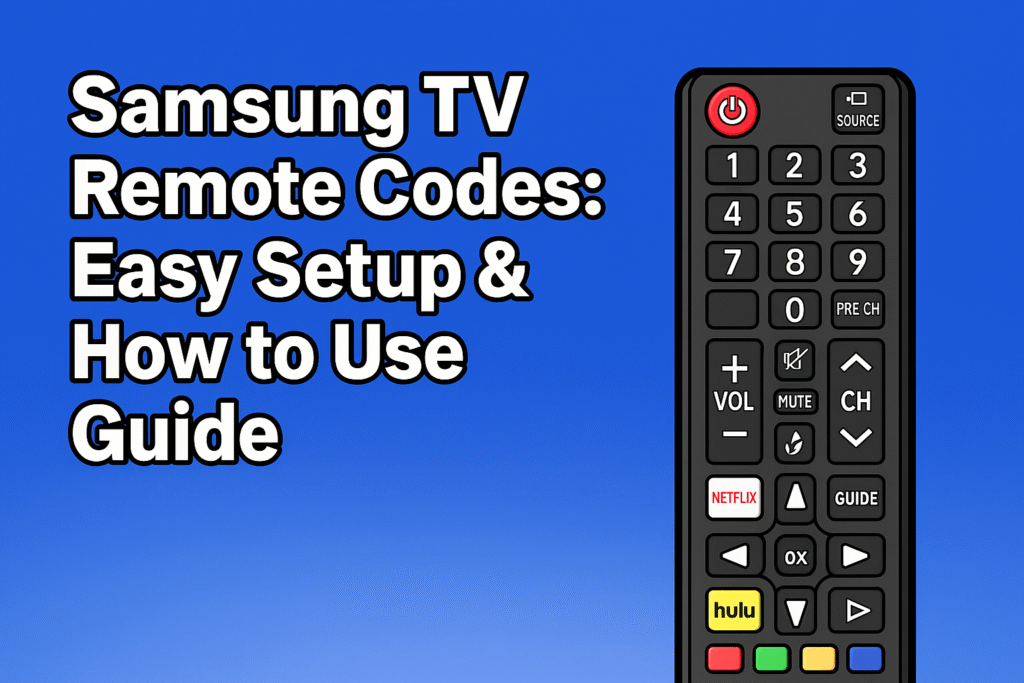
Which Xfinity Remotes Work with Samsung TVs?
The Samsung TVs work with the XR11 and XR15, plus pretty much all the Xfinity remotes that have voice buttons. People mostly use these to handle the power and the volume on the Samsung set. They do it through simple IR signals or through HDMI-CEC on the X1 box.
Samsung sets accept standard IR codes and the Anynet+ HDMI-CEC signal. The XR11 uses IR and RF for voice on many units and works with most Samsung models from 2014 onward. And the XR15 adds voice and a pairing button that links via the X1 box over RF, then maps TV commands through the box. The Xfinity TV Remote app gives a software path when hardware pairing fails.
XR11
The XR11 handles basic TV commands, including power and volume. It uses IR and, in some cases, RF for voice. It pairs through the X1 box by entering pairing mode and following the on-screen prompts. Expect a single LED blink pattern for button press and a steady blink sequence during searching.
XR15 & Voice Remotes
The XR15 and other Xfinity voice remotes add a dedicated voice key and improved RF range. Pairing usually begins at the X1 box setup menu. In the setup menu, the box detects the remote and assigns TV control codes. These remotes support HDMI-CEC pass-through via the box, which lets the remote switch TV power and volume without direct IR line-of-sight.
How to Set Up the Pair Xfinity Remote to the Samsung TV: Step-by-Step
Start with fresh batteries in the Xfinity remote and make sure the Samsung TV and the X1 box are already on. The box has a pairing menu you can open, or you can use the button combo on the remote if that feels faster. The whole thing usually wraps up in a couple of minutes.
The Samsung TV needs to catch the signal from the remote, and the X1 box needs to approve it. It helps a lot when the TV is already showing the right HDMI input and the remote has strong battery power. Keep the remote close to the box so the box doesn’t miss the pairing signal. After that, it’s a smooth run. Get everything powered up, start the pairing method you prefer, and check that the Power and Volume buttons react the way they should
Prepare – batteries, TV on, cable box on, input set
Do these small checks first so the pairing does not fail halfway.
- Put new batteries in the Xfinity remote so the LED gives a clear flash.
- Turn on the Samsung TV and move it to the HDMI port where the X1 box sits.
- Power on the X1 box and wait until the home screen shows up.
- Clear anything that blocks the TV sensor.
- Confirm the remote model from the X1 settings page.
Method A – Pair using the Xfinity box (voice remotes)
This route gives the cleanest setup.
- Press the A button on the Xfinity remote and open Settings.
- Pick Remotes and Devices, then pick Pair Remote.
- Hold the Xfinity (house icon) and Mute buttons, or the Xfinity and Info (i) buttons for five seconds until the LED pulses fast.
- Follow the screen and test the TV power and volume.
- If the TV does not react, pick Samsung from the list and try the code shown on the screen.
- End the setup when the power and volume work without delay.
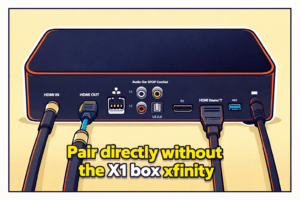
Method B –Pair directly without the X1 box
Use this path when the pairing needs to run by code.
- Point the Xfinity remote at the Samsung TV sensor.
- Hold the Setup button until the LED turns steady.
- Enter the Samsung code from the list and press Power to test.
- If the TV reacts, press Setup to save it.
- If nothing reacts, run the code search by holding Power while the remote cycles through codes and then press OK when the TV responds.
- Test volume and mute to confirm the code.
If a step stops working, note where it stopped and the remote model. This makes the later troubleshooting much easier in the next parts. The pairing relies on the Samsung TV sensor, the X1 box link, and the remote code map, so each point must stay aligned.
Model-specific Quick Steps
Pairing often needs a small model tweak. Focus on the remote model, the X1 box, and the Samsung TV model year. Older remotes use IR codes. Newer voice remotes use RF and the box maps TV commands. Keep the remote close and watch the LED patterns during pairing. The short guides below give exact, testable steps and clear success checks so you can finish pairing fast.
XR11 – exact steps, expected LED behavior, success check
The XR11 pairs using IR for TV commands and the X1 box for mapping in about two minutes when the remote has fresh batteries and the TV is on the X1 HDMI input.
- Put two new AAA batteries into the XR11 and point it at the Samsung TV sensor.
- Power on the Samsung TV and the X1 box and wait 30 to 45 seconds until the box’s home screen appears.
- On the X1 box, go to Settings and choose Remotes and Devices, and then Pair Remote.
- Press and hold the Xfinity (house icon) and Mute buttons on the XR11 for about 5 seconds until the remote LED pulses quickly.
- Follow the on-screen prompts and test Power then Volume when the box asks.
- Success looks like the TV turning off then on when you press Power and the volume changing without lag.
- If the Power fails, try selecting Samsung from the box list and run the code test again.
Expected LED behavior
- Quick pulse during search.
- Short blink when you press a button.
- No light usually means weak batteries or a hardware issue.
Success check steps
- Press Power once to turn the Samsung TV off and then on.
- Press Volume up and note audio level changes by exact dB steps shown on the TV OSD when available.
- If both tests pass, the XR11 is mapped correctly.
XR15 – exact steps, voice setup tips
The XR15 links with the X1 box using RF for voice and IR mapping for TV power and volume. So pairing on the box is the fastest and most reliable method.
- Replace batteries in the XR15 with fresh AA or AAA cells, depending on the unit.
- Place the remote within 1 foot of the X1 box and power the Samsung TV to the correct HDMI input.
- Open Settings on the X1 box and choose Remotes and Devices, and then Pair Remote.
- Hold the Xfinity and Mute buttons or the Xfinity and Info (i) for about 4 to 6 seconds until the LED pulses.
- Let the X1 box detect the remote and then test Power then Volume when prompted.
- If voice commands do not work update the X1 box firmware then re-pair the remote through the box.
Voice tips and checks
- Test voice by pressing the mic, then speaking “Launch Guide,” and confirm the box responds.
- If the voice fails but IR works, recheck the remote microphone hole for dust.
- For TV apps, use the box voice first, then the TV voice if the box forwards commands through HDMI-CEC (Anynet+).
Universal Remote Codes & Table
Manual codes still help when auto-detect fails or when the X1 box cannot map the TV. Comcast uses three and five-digit formats for TV codes. The reliable approach uses the X1 box auto-detect first. If that fails, run a manual code search or enter manufacturer codes from Comcast support. The table below gives model ranges, guidance on code formats, and concise notes so you can search fast.
Use this compact table to decide the next step. If auto-detect works, stop here. If not, follow the manual code search steps.
| Samsung model ranges | Xfinity code guidance | Notes and quick actions |
| 2012 to 2016 (older LED/LCD) | Try X1 auto-detect and manual 3-digit codes from Comcast support | Older TVs commonly use IR codes. If auto-detect fails, run code search on the remote. |
| 2017 to 2019 (early smart Tizen) | Use X1 auto-detect or try 3 or 5-digit codes (10702
12051) listed by Comcast |
These sets accept both IR and HDMI-CEC. Enable Anynet+ on the TV if available. |
| 2020 to 2022 (QLED and newer Tizen) | Prefer X1 auto-detect. If a manual needs to use 5-digit codes(10702
12051) or code search |
Newer models often accept HDMI-CEC commands. Check the Samsung menu for Anynet+ settings. |
| 2023 and later (latest Smart TV) | Auto-detect first and then manufacturer selection in X1. Use code search as a fallback | New firmware may change code behavior. Update TV firmware before manual pairing. |
| Universal situation | If auto-detect fails, use the Xfinity TV Remote app to test commands before entering codes | The app proves the network route works and narrows the cause to remote or code mapping. |
Troubleshooting: If Pairing Fails
Start with small checks. Confirm that the Samsung TV, the X1 box, and the Xfinity remote are powered and closed. Note the remote model and LED behavior. These details speed diagnosis and help you pick the right fix.
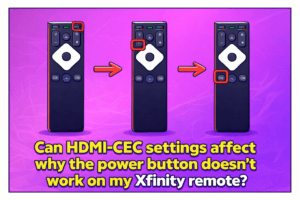
Can HDMI-CEC settings affect why the power button doesn’t work on my Xfinity remote?
Yes – HDMI-CEC can block or reroute power commands. So the Xfinity remote may change volume while power commands go to another HDMI-linked device.
How HDMI-CEC interferes
- Samsung Anynet+ forwards remote commands across HDMI. So, power may control the AVR or soundbar instead of the TV.
- ARC or eARC pathways change how the audio and power handshake happen.
Can ARC or eARC audio settings affect Xfinity remote pairing or TV power control?
Yes – ARC or eARC settings change HDMI handshakes. So audio devices using ARC can steal power events and break direct power control from the Xfinity remote.
How ARC affects behavior
- ARC passes audio and control signals to audio receivers so the receiver may answer the power command instead of the TV.
- Some Samsung receivers and soundbars claim power control and block the TV from responding.
How to isolate ARC-related issues
- Disable ARC or set TV audio output to TV speakers and test the remote.
- If remote works switch ARC back on and then unplug the soundbar and test again.
- Update the TV and receiver firmware before changing permanent settings.
Table: Quick Fix Matrix (symptom → 1-step fix)
Use this compact table to resolve common problems fast. Test each one in order and note the results.
| Symptom | One-step fix |
| Remote has no LED on | Replace batteries with fresh cells and test the LED within 5 seconds |
| The buttons register, but the TV ignores the power | Disable Anynet+ and then test the power button |
| Volume works, but TV power does not | On the X1 box, re-run remote pairing and select the Samsung manufacturer |
| Intermittent control | Move the remote within 0.5 meters of the X1 box and retest |
| Voice commands fail | Update the X1 box firmware and then re-pair the remote |
| App controls, but the remote does not | Use the Xfinity TV Remote app to confirm box connectivity and then re-pair the physical remote |
| Codes fail during manual entry | Run the remote code search while pointing at the TV sensor and press OK when the TV reacts |
| ARC steals power control | Set TV audio to TV speakers and test power, and then re-enable ARC if stable |
| Multiple remotes conflict | Remove other remotes from the room and then test one remote only |
FAQs
Why does volume work, but the power button does not?
HDMI-CEC or ARC may redirect power events to another device so the TV may not receive the power signal.
Disable Anynet+ temporarily and test the power and then isolate connected HDMI devices one by one to find the interferer.
Do newer Samsung TVs need specific codes for Xfinity remotes?
Newer Samsung models often accept auto-detect via the X1 box but may need five-digit codes in manual mode.
Update the TV firmware and then try the X1 box auto-detect first before manual code entry.
Is there a warranty or replacement path for faulty Xfinity remotes?
Comcast offers replacements via support for defective remotes and may send a swap if diagnostics show hardware failure.
Contact Comcast support with the remote model and LED behavior, and request a replacement if steps fail.
How do I remove a remote from a Samsung TV or X1 box pairing?
Use the X1 box Remotes and Devices menu to unpair the remote or remove the device entry in the Samsung TV Anynet+ list.
Follow the unpair sequence and re-pair only the desired remote to avoid code conflicts.
Conclusion
Pairing an Xfinity remote to a Samsung TV feels confusing at first, yet the setup becomes steady once the right steps line up. The remote reads the TV signal, the X1 box confirms the match, and the controls fall into place.
If the volume, power, or input buttons slip off track later, a quick reset inside the X1 menu often brings them back. This keeps the whole system stable without extra effort.
With the main steps clear, you now have a simple path to keep the remote linked to your Samsung TV in the same strong way each time.